
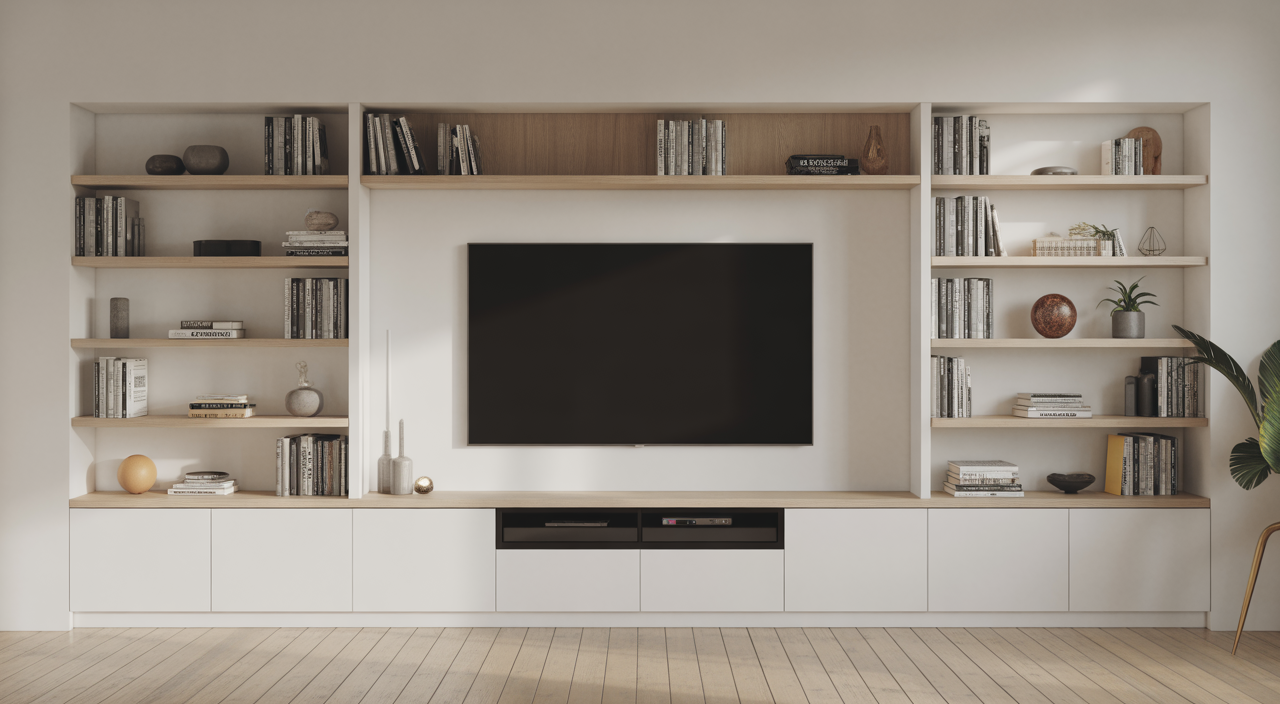
The Ultimate Guide to Media Walls with Shelves
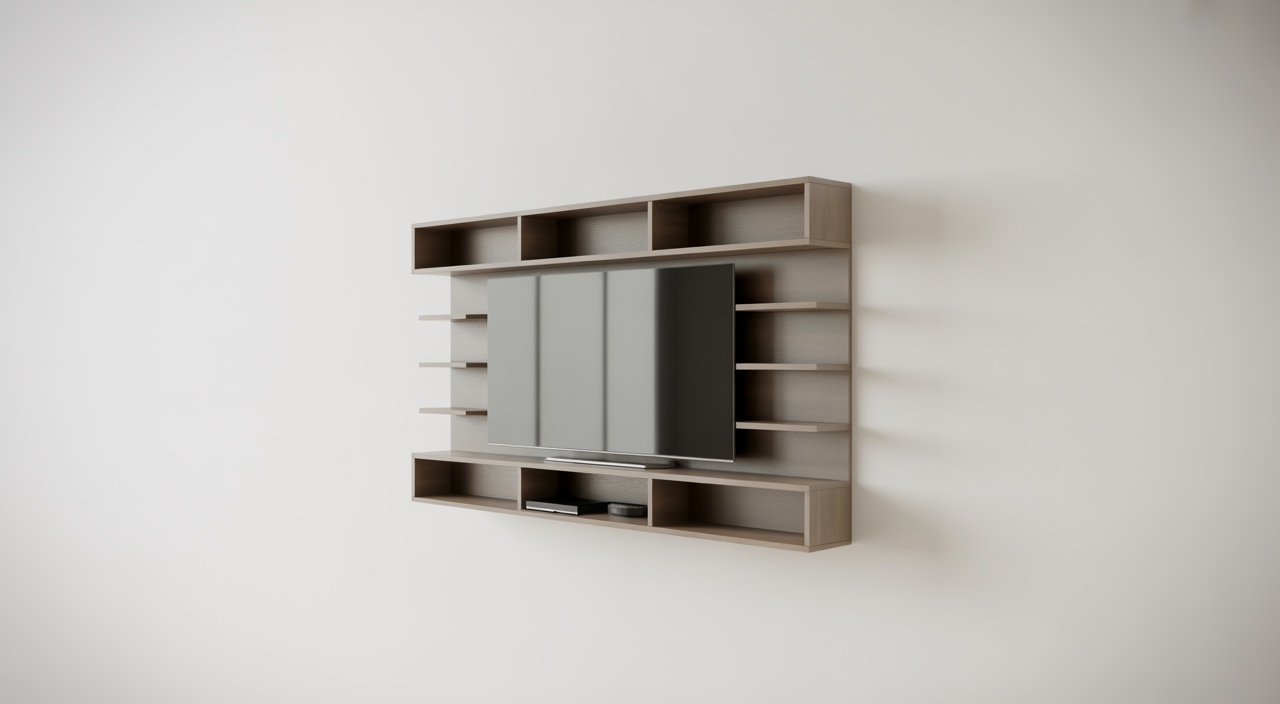
What makes media walls with shelves such a smart upgrade for your home?
A modern media wall is more than a place to hang your TV. It combines storage, display space, and smart cable hiding in one neat design. When you add shelves, it turns into a stylish focal point that keeps your living room calm and clutter free.
If you are exploring media walls with shelves, you probably want both inspiration and clear buying guidance. This guide walks you through styles, materials, planning tips, and cost ideas, so you can choose with confidence.
Whether you live in a compact city flat or a spacious family home, a well-planned media wall can work beautifully. You just need the right layout, the right size, and finishes that suit your décor and lifestyle.
Why choose a media wall with shelves?
Maximised storage and display
A media wall turns a plain wall into useful vertical storage. Shelves can hold books, speakers, décor pieces, family photos, and even small plants. This keeps your TV area balanced and gives everything a proper place.
For Indian investors planning rental properties or second homes, a built-in living room shelving unit also adds perceived value. Tenants and buyers often see it as a premium feature, much like fitted wardrobes or a modular kitchen.
Seamless TV integration and cable management
A key benefit of an integrated TV wall is clean cable management. Power sockets, routers, set-top boxes, and gaming consoles can all be tucked away in cabinets or behind panels. Only the screen remains visible.
This not only looks smart but also protects wires from dust and curious children or pets. If you care about safety and neatness, plan cable routes at the same time as shelf positions, not at the end.
Styling flexibility with books, art, and décor
Open shelves give you room to express your personality. You can mix books, art, souvenirs, and framed photos for a lived-in feel. Or keep it minimal with a few large objects and neutral colours.
The best entertainment centre shelving stays flexible. You can re-style it for festivals, parties, or seasons without changing the structure of the wall.
Popular media wall styles for UK homes
Floating shelves and minimalist designs
A floating shelves media wall suits modern apartments and clean, simple interiors. Slim wall mounted shelving units around a central TV create a light, airy look. There are no heavy side units to crowd the space.
Choose handleless cabinets below the TV and two or three horizontal shelves above or beside it. Stick to a simple palette such as white, grey, or light wood to maintain a calm mood.
Built-in media walls for period properties
If you have a period home with alcoves or chimney breasts, a built-in media wall can feel like it has always been there. Custom media unit designs can follow the lines of your cornices and skirting.
You can add closed cupboards at the bottom for devices and toys, and open built-in shelving ideas above for books and art. Painted finishes in warm neutrals or rich blues and greens often suit such spaces.
Industrial and rustic shelving units
For a more characterful look, try a mix of wood and metal. Dark frames with wood shelves create an industrial yet homely vibe. This style works well in open-plan spaces and loft-style homes.
Add soft elements like plants, woven baskets, and warm lighting to keep the TV shelf wall from looking too hard or cold.
Materials and finishes: pros and cons
MDF vs solid wood shelving
MDF (medium-density fibreboard) is widely used for media wall cabinet ideas. It gives a smooth finish, is cost effective, and takes paint very well. For many UK homes, MDF is a practical choice, especially for large units.
Solid wood feels premium and is very durable, but it is heavier and usually more expensive. It can also move slightly with humidity, so good installation is important. A mix of MDF carcass and solid wood accents is a smart middle path.
Lacquered vs painted surfaces
Lacquered finishes have a smooth, glossy look and are easy to wipe clean. They suit modern, minimalist designs and smaller rooms, as they reflect light. Painted surfaces give a softer, more traditional feel.
For busy family homes, choose a durable, washable paint that can handle fingerprints and everyday wear.
Glass, metal, and mixed-material accents
Glass shelves and doors add lightness and help display special pieces. Metal trims or legs can give a sharp, tailored edge to your wall-mounted media unit.
Mixed-material designs, when done well, lift the whole space. Just keep the colour story tight to avoid visual clutter.
DIY vs bespoke: which route to take?
Pros and cons of flat-pack solutions
Flat-pack and modular units cost less upfront and are quick to get delivered. If you are handy with tools, a DIY floating wall shelves setup can be a fun weekend project.
However, you may be limited in size, colour, and layout. Gaps around skirting or between units can spoil the built-in look if not planned well.
Benefits of custom media walls
Bespoke media walls are tailored to your exact wall size, TV position, and storage needs. You can choose everything from shelf spacing to hidden niches for speakers and soundbars.
For investors working on premium rentals or luxury homes, custom work often pays back in higher perceived quality. For more ideas on planning home investments smartly, you may enjoy this guide on optimizing your interior space for comfort and efficiency.
Budget comparison overview
Costs vary with size, materials, and labour. As a simple guide:
- Basic modular units: entry-level pricing, ideal for first homes and small rentals
- Mid-range semi-bespoke: higher cost, more choice of finishes and better fit
- Fully bespoke joinery: premium budget, top flexibility and best long-term fit
When comparing options, include electrical work, painting, and any extra lighting, not just the unit price.
How to plan your media wall installation
Measuring and dimension checklist
Start with your TV size. For a 55-inch TV, many designers suggest the media wall should be at least 20 to 30 cm wider on both sides, so the screen does not look squeezed.
Note ceiling height, window positions, and door swings. Sketch a simple dimension grid on paper to test shelf heights and cabinet depths. Keep lower cabinets around 40 to 50 cm deep and upper shelves lighter.
Tools and materials overview
For DIY projects, you may need a drill, level, stud finder, screws and plugs suited to your wall type, and basic hand tools. Always check your wall construction, especially in new builds with more plasterboard.
If you are not confident, hiring a professional fitter gives peace of mind and saves time.
Step-by-step planning flow
- Decide TV position and viewing height
- Plan power sockets, internet points, and cable routes
- Choose layout: symmetric, one-sided, or full wall
- Select materials, colours, and door styles
- Confirm measurements, then place your order or book a carpenter
Styling and décor tips
Colour palettes to complement your shelves
Neutral walls with slightly darker shelves keep the focus on your TV and décor. You can also match shelf colour to your doors or skirting for a built-in feel.
Accent colours work well in small doses through books, cushions, and art rather than on the unit itself, especially if you may rent or resell the property later.
Arranging books, plants, and artefacts
Mix vertical and horizontal stacks of books to keep shelves lively. Add small plants for freshness and a few special pieces from your travels or family life.
Leave some empty space so the eye can rest. Too many items can make even the best bespoke media wall look busy.
Lighting ideas: LED strips and spotlights
Discreet LED strip lights under shelves or behind the TV add a soft glow and highlight textures. Small spotlights can draw attention to art or special objects.
Warm white light usually feels cosy and suits evening TV time. Plan wiring for lights early in your project.
Real-life inspiration and next steps
Across UK and Indian homes alike, well-designed TV wall storage transforms how a living room feels and functions. It reduces clutter, adds storage, and creates a clear focal point for family time and entertaining.
If you are also planning upgrades like security or smart home features, it helps to think about them together. For instance, this overview on protecting your home with the right fixtures shows how layered improvements can build long-term value.
FAQs about media walls with shelves
Q1: What size should my shelves be for a 55-inch TV?
For a 55-inch TV, aim for the TV centre to sit roughly at eye level when you are seated, usually around 100 to 110 cm from the floor. Shelves can start about 10 to 20 cm above the top of the TV to avoid a cramped feel. Side shelves and cabinets should extend beyond the TV edges so the screen does not dominate the whole wall.
Q2: Can I install a media wall on a plasterboard wall?
Yes, but you must fix heavy units into studs or use suitable anchors, not just the plasterboard surface. For very heavy TVs or thick shelves, extra framing or a backing panel may be needed. If you are unsure about the wall’s strength, it is wise to consult a professional fitter before mounting.
Q3: How can I hide cables effectively?
Plan cable routes before you start building. Use trunking or conduits behind panels, add extra sockets behind the TV, and keep a small access hatch for routers and set-top boxes. Closed cabinets with ventilation holes at the back help you hide devices while still allowing heat to escape.

Roderick Smith is a writer, blogger, and business owner. He has been writing for over 5 years and his blog naouelmoha.net offers valuable information about the business, health, law, and the latest technology. Roderick lives in Nashville with his wife and three children.